Creating a unique cream jar for your skincare brand does not have to be complicated. Maybe you will worry it’s too technical or time consuming but with a clear 6 steps you will change your idea. Let’s break down each step simply, so you will know exactly what to be.
Step 1: Concept & Design – Turn Your Idea into a 3D Plan
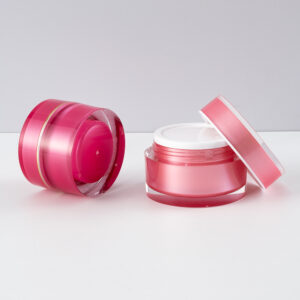
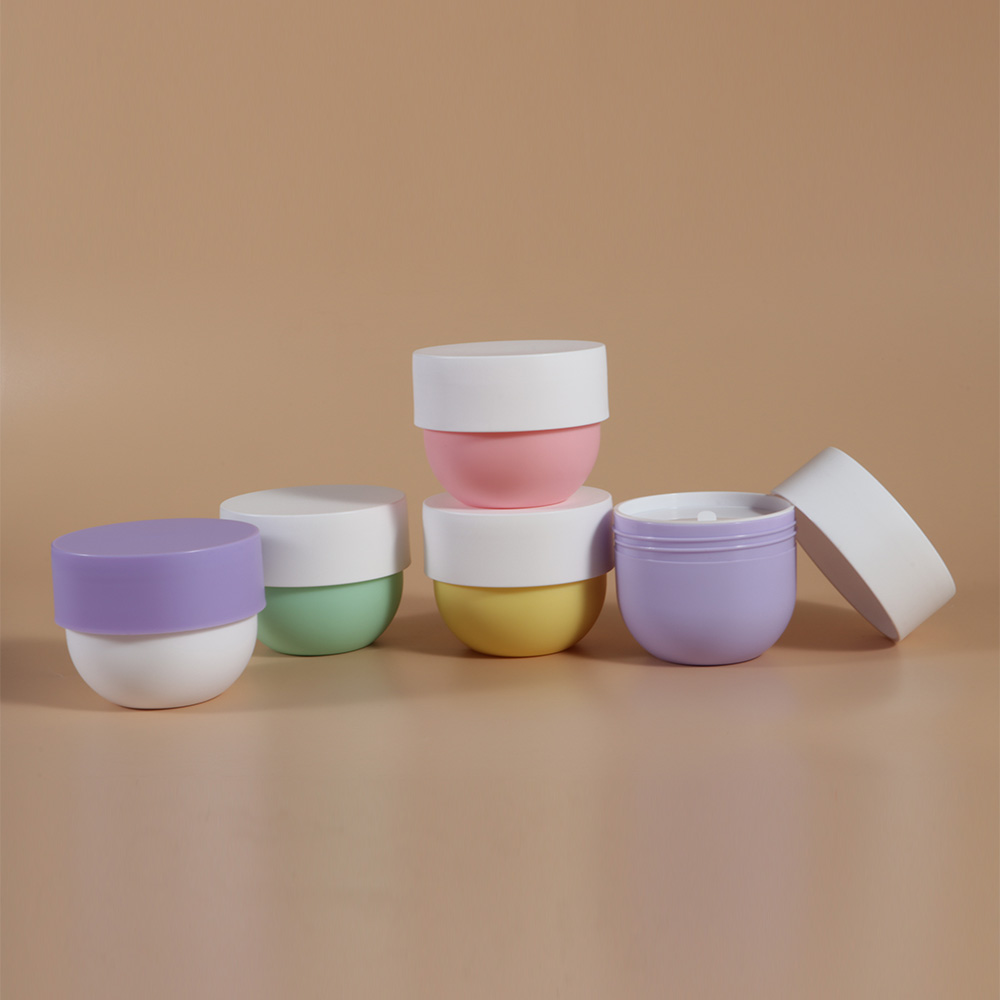
Everything starts with your idea. Do you want a small, round jar with matte finish? Or a tall, slim one with a unique lid? First, we’ll talk through all your details, size, color, material even small logos you want to add.
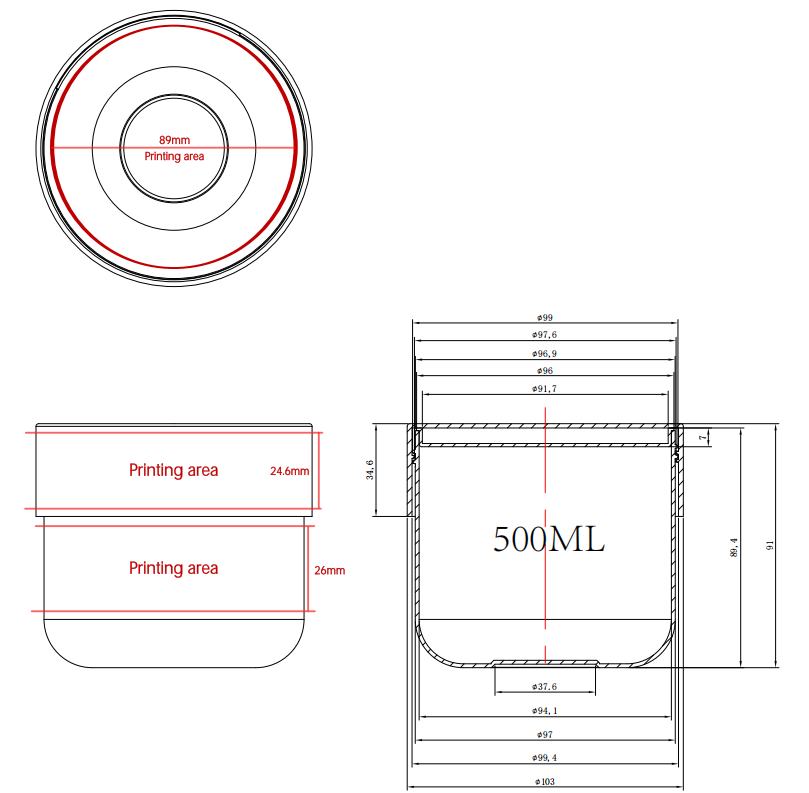
Once we get your ideas clear, our team will create a 3D digital model for you. This isn’t just a drawing, it’s a detailed, virtual version that lets you see every angle. We’ll send it to you for checks. If you want to make the lid a little bigger or change the jar’s shape, we’ll adjust it until it’s exactly what you want. No technical skills needed, just tell us what looks right to you.
Step 2: 3D Prototyping – Touch and Test Before You Commit
Pictures on a screen are helpful but nothing beats holding a real sample. That’s where 3D prototyping comes in. We’ll use the 3D model to make a physical full-size sample of your cream jar.
This step lets you feel the jar, is the thickness right? Does the lid close smoothly? Can you easily hold it? You can even test it with your cream to see if it fits. If have any problems, like the lid being too tight,we’ll fix the prototype quickly. In this way you don’t have to waste time or money on a mold that isn’t perfect.
Step 3: Mold Production – Building the Tool That Makes Your Jars
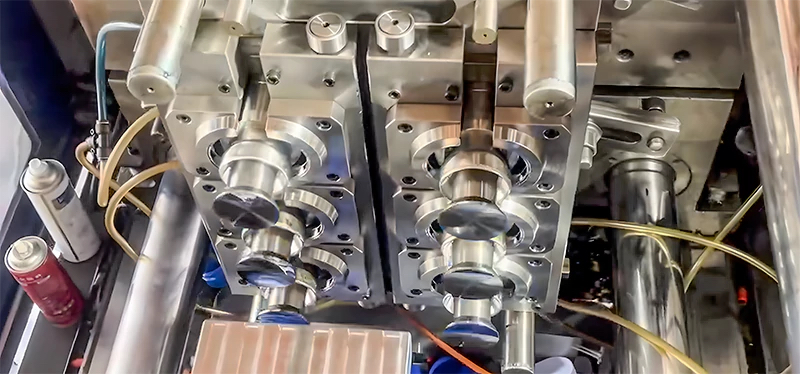
Once you commit the 3D prototyping, it’s time to make the mold. The mold is a special metal tool that’s shaped exactly like your cream jar. When we inject plastic into the mold, it cools and hardens into your jar’s shape. This is how we’ll make hundreds or thousands of jars later.
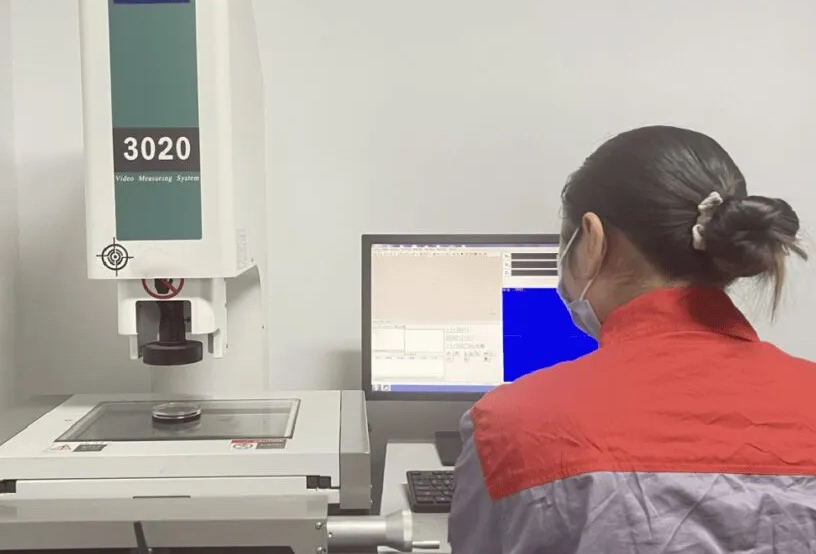
We’ll polish the mold’s inside to make sure your jars have a smooth finish, and we’ll check for tiny gaps that could ruin the product. We’ll keep you updated during this step you’ll never be left wondering how things are going.
Step 4: T1 Sampling & Approval – Check the First Real Jars
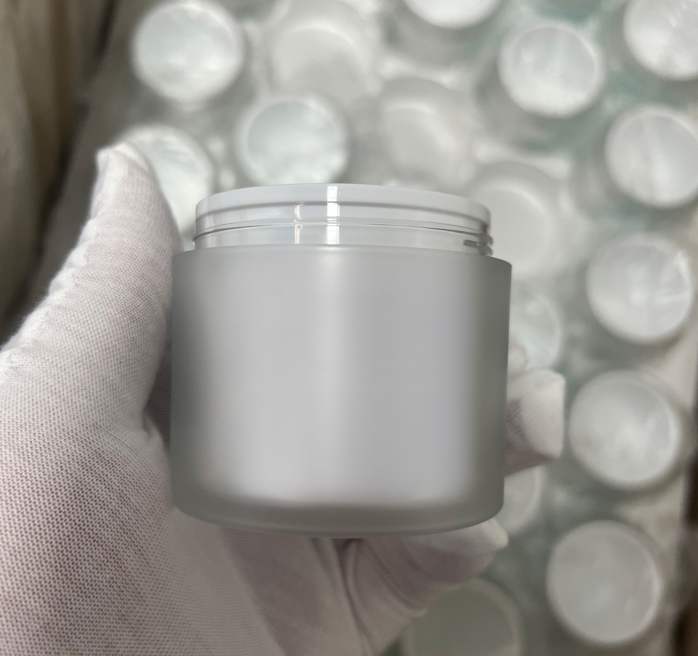
After the mold is ready, we’ll do a test run called T1 sampling. We’ll use the mold to make 100pcs cream jars.
You’ll get these T1 samples to check. Do they look like the prototype? Is the color same? Do all the lids fit the same way? This is your final chance to make small changes, like adjusting the color. Once you approve this T1 samples, we’re ready to mass production.
Step 5: Mass Production – Making Your Jars in Bulk
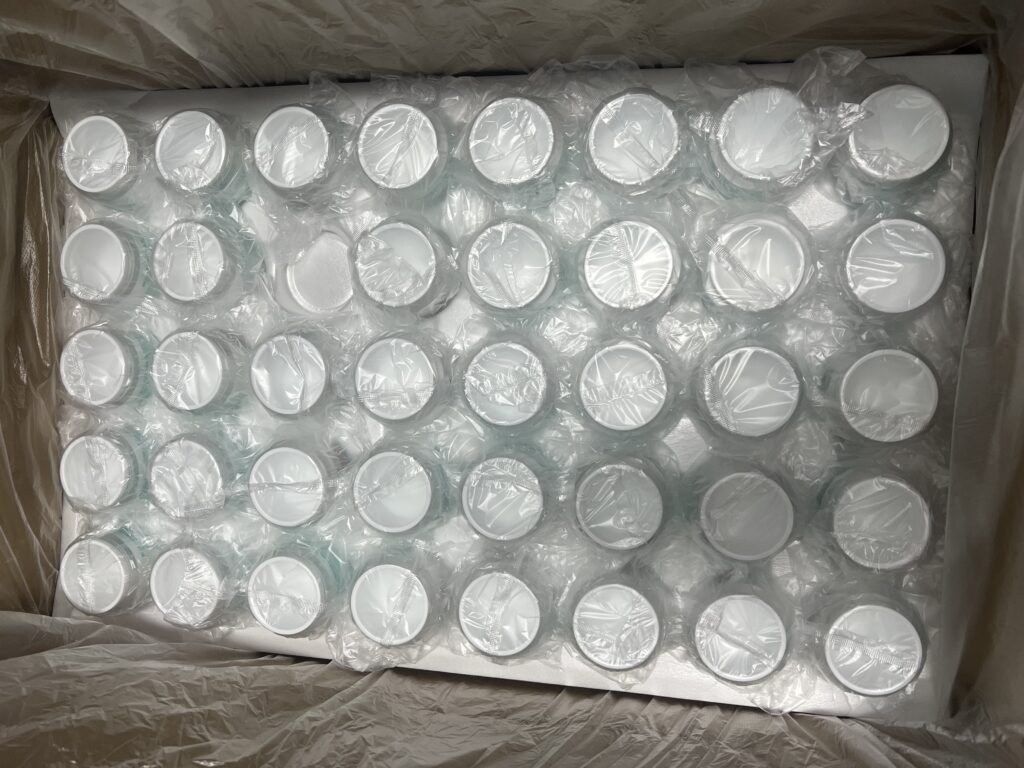
Now we can mass production. We’ll load the mold into our injection,molding machines and start making your cream jars. How fast we go depends on how many jars you need.
We’ll check every batch of jars to make sure they’re the same quality, no scratches, no uneven shapes and lids work perfectly. If we find any bad jars, we’ll pick them out. You can even visit our factory to see the production process if you want.
Step 6: Delivery – Getting Your Jars to Your Door
Once all your jars are made and checked, we’ll pack them safely and ship them to you. We work with reliable shipping companies, so you can track your order online. We’ll also send you a delivery date ahead of time, so you can plan for when your jars arrive,whether you need them for a product launch or to restock.
We know you might have worries, here are answers to the questions we hear most:
1.Will this be too expensive?
The cost depends on your jar’s complexity and how many you order. But prototyping and T1 sampling help avoid costly mistakes later. Also ordering more jars in bulk lowers the cost per jar. We’ll give you a clear quote first.
2.How long will the whole process take?
From idea to delivery it usually takes 6-10 weeks. Simple jars are faster,complex ones take a bit longer. We’ll give you a timeline that fits your needs. If you have a launch date, we’ll work to meet it.
3. Will I own the mold?
Yes, once you pay for the mold, it’s belongs to you. We’ll store it safely for you, if you need more jars later, we don’t have to make a new mold, just use the one you already own. That saves you money on future orders.