If you’re making cream whether it’s a facial moisturizer body butter or a special skincare blend you know how important the right jar is. The jar doesn’t just hold your product, it needs to keep it safe fresh and looking good. But how do you make sure your cream and our jars work fit well? It’s not hard just follow these steps and we’ll help you every step of the way.
Step 1: Ask Us for Samples in Different Materials
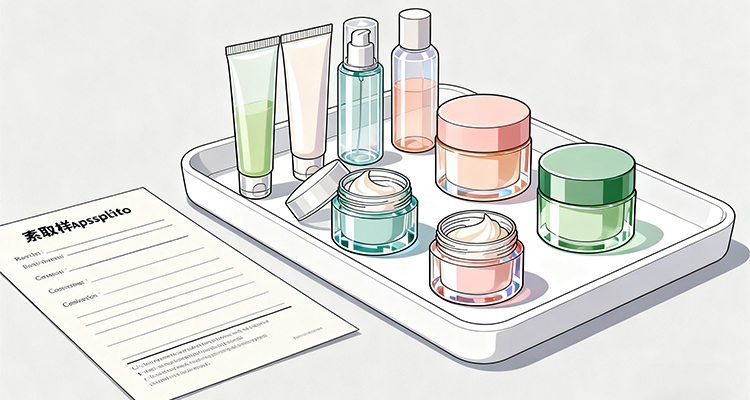
First you need to test with the actual jars you might use. We make jars from different materials, like plastic glass and even some eco friendly blends. Just send us a quick message or email tell us what kind of cream you’re making and we’ll send you sample jars. No need to order big quantities yet. We’ll get the samples to you fast, so you can start testing soon.
Step 2: Fill the Samples with Your Cream
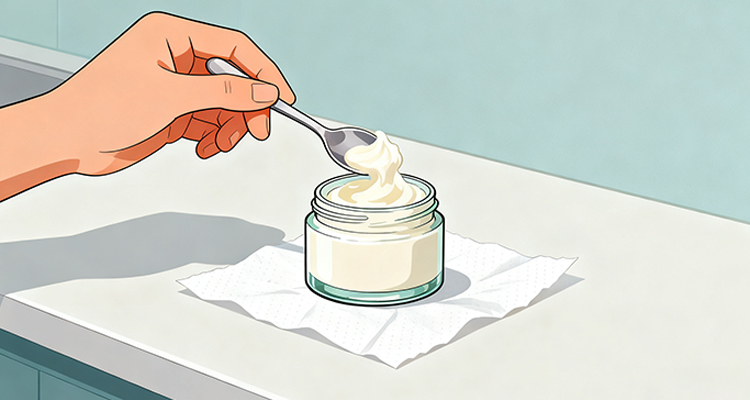
Once you have the sample jars, it’s time to put your cream inside. Do this just like you would for a real product, fill each jar to the usual level. Make sure you use your actual cream, not a test version.Because the real ingredients in your cream are what will interact with the jar. Label each jar with the material type, so you don’t mix them up later.
Step 3: Do Accelerated Aging Tests
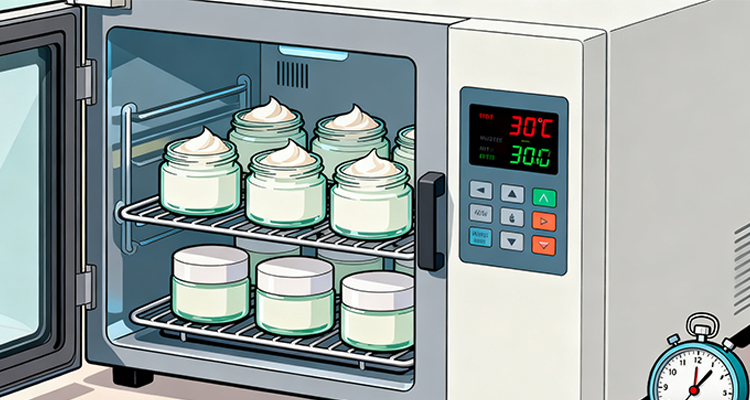
Now, we need to see how your cream and jars hold up over time, but we don’t want to wait months. That’s where accelerated aging tests come in. These tests mimic the tough conditions your product might face in just a few weeks.
For the heat test, put the filled jars in a warm place, like a cabinet near a stove or even a small box with a low wattage light bulb. Don’t make it too hot, though you don’t want to cook the cream. Leave them there for 2-4 weeks.
For the light test, place another set of filled jars near a window where they get daily sunlight. Leave them for the same 2-4 weeks. This tests if light makes the cream change or the jar fade.
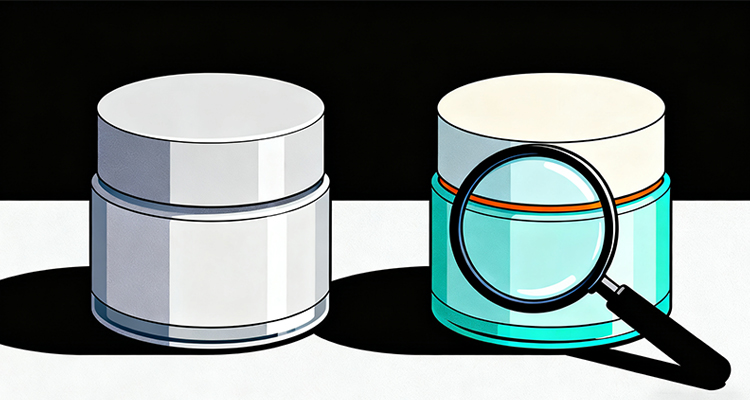
Step 4: Check the Cream-Did It Change?
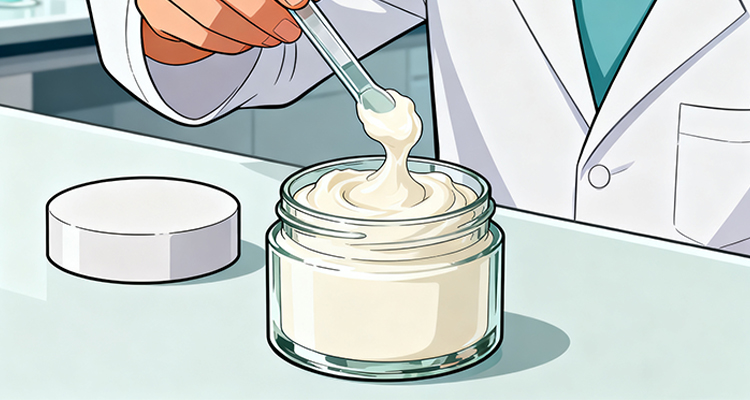
After the test period, take out the jars and let them cool down to room temperature. Then check your cream closely.
Color, did it get darker lighter or develop spots? For example, a bright white cream turning yellow is a bad sign. It means the cream is breaking down.
Smell, does it still smell like your original cream? If it has a sour rancid or weird chemical smell, that’s a problem. Oils in the cream might be reacting with the jar material.
Texture, is it still smooth or did it get lumpy watery or greasy? A change in texture means the cream’s isn’t stable in that jar.
If the cream looks smells and feels the same as when you put it in. Great, that jar is a candidate. If not, note which material caused the issue and move on to testing other samples.
Step 5: Check the Jar-Did It Break or Fade?
It’s not just the cream you need to watch,you also need to make sure the jar holds up.
Deformation, is the jar warped swollen or misshapen? For example, a plastic jar that’s bulging means the cream’s ingredients might be reacting with the plastic, making it soft.
Cracks, are there any small cracks in the jar or lid? Cracks can let air and bacteria in, which ruins the cream.
Discoloration, did the jar change color? A clear jar turning cloudy or a colored jar fading means the material isn’t resistant to your cream or the test conditions.
Lid seal, does the lid still close tightly? If the lid is loose or the seal is broken, your cream will dry out or get contaminated.
A good jar should look just like it did when you filled it, no cracks no warping no color changes.
How We’ll Help You Through the Process
We don’t want you to do this alone. Here’s how we can support you.
Sample support, we’ll send as many samples as you need, just tell us which materials you want to test, and we’ll ship them to you.
Test tips, if you’re not sure how to set up the heat or light tests, our team can send you simple, step by step tips. We even have a quick guide with photos to make it easy.
Problem solving, if you notice issues,like your cream turning yellow in a plastic jar or a glass jar cracking. We can help figure out why. Our experts know how different cream ingredients react with different jar materials, so we can suggest alternative materials that might work better.
Follow up, after your tests, if you have questions, we’re just a call or email away. We want to make sure you find the perfect jar for your cream.
Testing compatibility between your cream and our jars is easy, just follow these steps, and you’ll avoid big problems later. It’s a small step now but it saves you time money and headaches down the line.